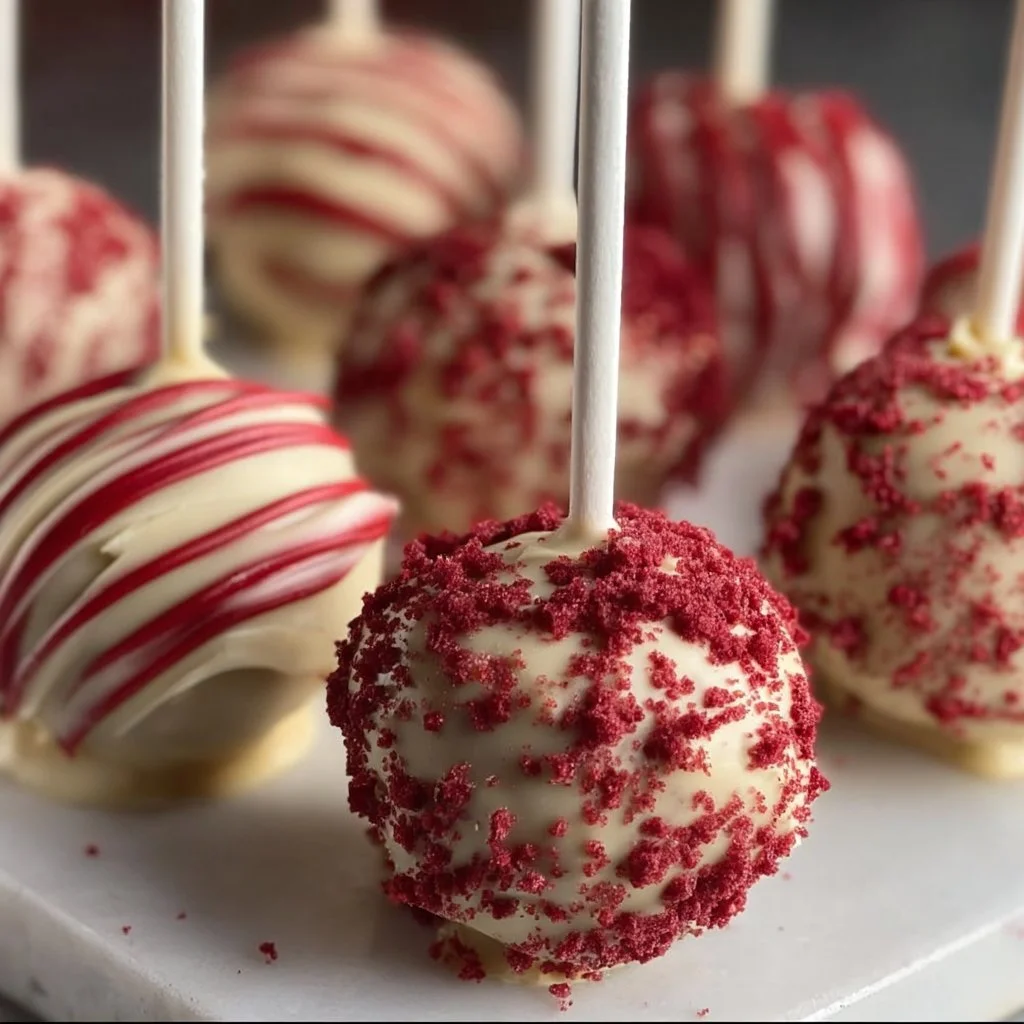
Red Velvet Cake Pops
Tempting Treats Await!
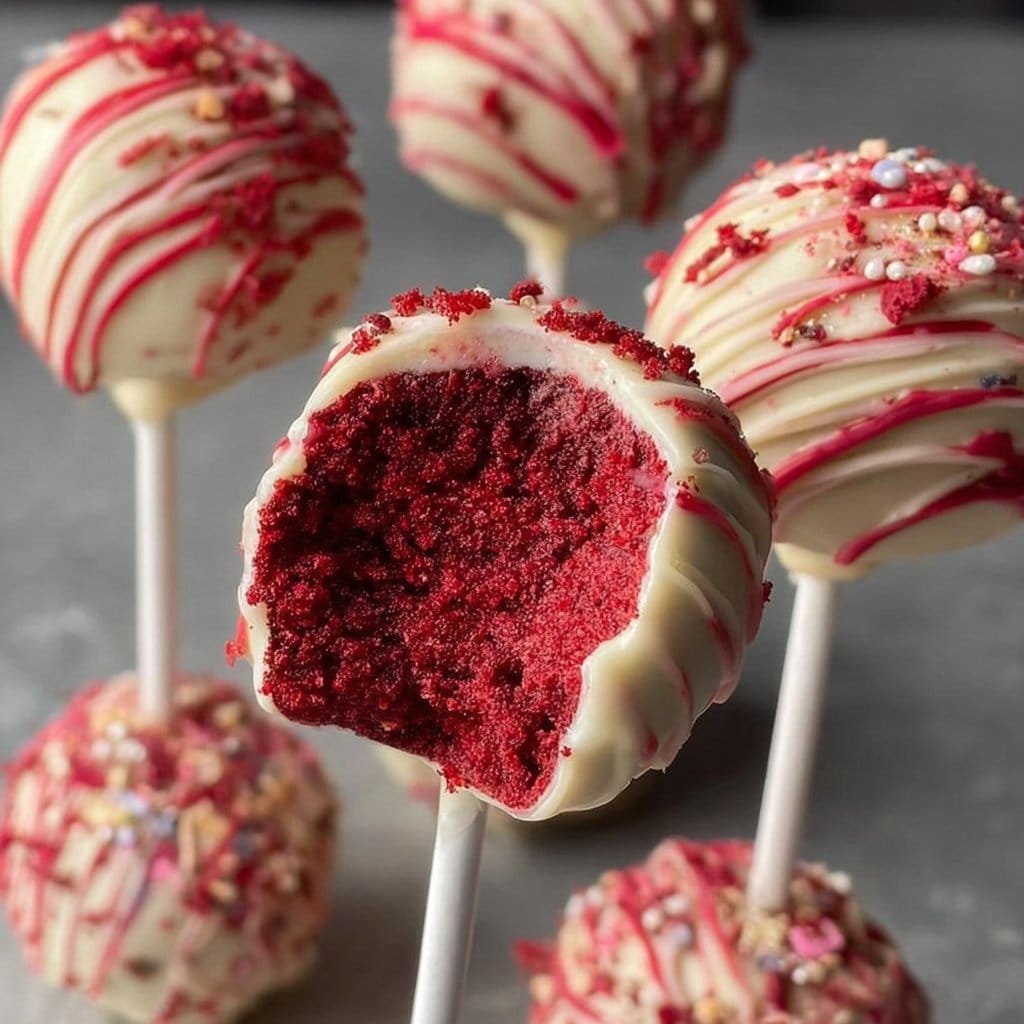
Ever craved a dessert that’s not just a feast for the eyes, but also tastes divine? Red Velvet Cake Pops are like little bites of joy, combining rich chocolatey flavor with a festive pop of color! Plus, they’re perfect for any occasion — birthdays, holidays, or simply when you want to treat yourself. Packed with a creamy center and coated in velvety chocolate, this recipe is bound to become a crowd favorite!
Why Make This Recipe
Why should you whip up a batch? Well, these cake pops are super easy to make, and cleanup is a breeze – no one has time for messy kitchens, right? They’re also a great way to get kids involved in the kitchen; who doesn’t want to roll some cake into balls? Plus, with how cute they look, you’ll feel like a baking rockstar even if you’re not!
Ingredients
You don’t need fancy stuff — just these basics!
- 1 box red velvet cake mix
- 3 large eggs
- 1/2 cup vegetable oil
- 1 cup water
- 1 tub cream cheese frosting
- 1 package candy coating (white or dark chocolate)
- Sprinkles (for that fun finish!)
Directions
Making these little delights is a breeze — just follow these simple steps:
- Prepare the Cake: Bake red velvet cake following the package instructions. Let it cool completely.
- Crumble: Crumble the cooled cake into a large bowl. The finer, the better!
- Mix It Up: Add the cream cheese frosting and mix until well combined. It should be moldable.
- Roll Into Balls: Form small balls (about 1 inch) and place them on a baking sheet. Chill for about 30 minutes to firm them up.
- Melt the Coating: Melt your candy coating according to package instructions.
- Dip and Decorate: Dip each ball in the melted coating and place on parchment paper. Add sprinkles before they set.
- Enjoy!: Let them cool completely before serving.
How to Make Red Velvet Cake Pops (Overview)
Alright, let’s break it down. First, you bake the cake and let it cool — patience is a virtue! Once it’s cool, crumble it into a fine consistency and mix in that delicious cream cheese frosting. This is where the magic happens; it should feel just right, not too gooey! Roll into balls, chill ‘em out, and then dip them in melted chocolate. Voila! You’ve got yourself some scrumptious red velvet cake pops. Pro tip: Chill the balls first to prevent them from falling apart while dipping!
How to Serve Red Velvet Cake Pops
Imagine biting into one of these beauties — a soft, moist interior complemented by a crisp chocolate shell and colorful sprinkles! Serve these pops on a cute platter, or stick them into a floral foam block for a show-stopping cake pop bouquet. Pair them with a rich hot cocoa or a splash of bubbly for a fun twist. You’ll wow your guests with both flavor and presentation!
How to Store Red Velvet Cake Pops
These delightful treats can stay fresh in the fridge for up to one week. You can also freeze them for up to three months! To reheat, simply let them sit at room temperature — no microwave needed. Make ahead for parties and surprise your friends!
Tips to Make Red Velvet Cake Pops
- Make Sure It’s Cool: Always wait for the cake to cool completely before crumbling; otherwise, you’ll have a sticky mess!
- Stick Factor: If your pops are falling off sticks, don’t fret! Chill them longer before dipping.
- Colorful Coating: Experiment with different colored candy melts for fun occasions. Who doesn’t love a rainbow of pops?
- Healthy Twist: Consider a low-fat frosting option for a lighter version. It’ll still taste amazing!
Variation
Want to switch it up? Try adding some crushed Oreos for a cookies and cream twist, or swap the red velvet for another flavor cake mix, like chocolate or vanilla! Need it vegan? Use a plant-based frosting and a vegan cake mix for delicious results!
FAQs
Can I use homemade cake instead of box mix?
Absolutely! Just ensure it’s the right texture for rolling.
How do I make these cake pops gluten-free?
Use a gluten-free cake mix and frosting — it still works wonders!
Can I make the cake balls in advance?
You bet! Just chill them until you’re ready to dip.
How can I customize my cake pop flavors?
Try adding extracts like vanilla or almond, or sprinkle in some chocolate chips for an extra treat!
What if my candy coating won’t melt properly?
Make sure to use a microwave-safe bowl and melt in short bursts to avoid burning.
📌 Pin this recipe for your next cozy dinner night!

Red Velvet Cake Pops
Ingredients
Method
- Bake red velvet cake following the package instructions. Let it cool completely.
- Crumble the cooled cake into a large bowl. The finer, the better!
- Add the cream cheese frosting and mix until well combined. It should be moldable.
- Form small balls (about 1 inch) and place them on a baking sheet. Chill for about 30 minutes to firm them up.
- Melt your candy coating according to package instructions.
- Dip each ball in the melted coating and place on parchment paper. Add sprinkles before they set.
- Let them cool completely before serving.