Oreo Dump Cake Recipe – Just 5 Ingredients
The Ultimate Chocolate Indulgence Awaits!
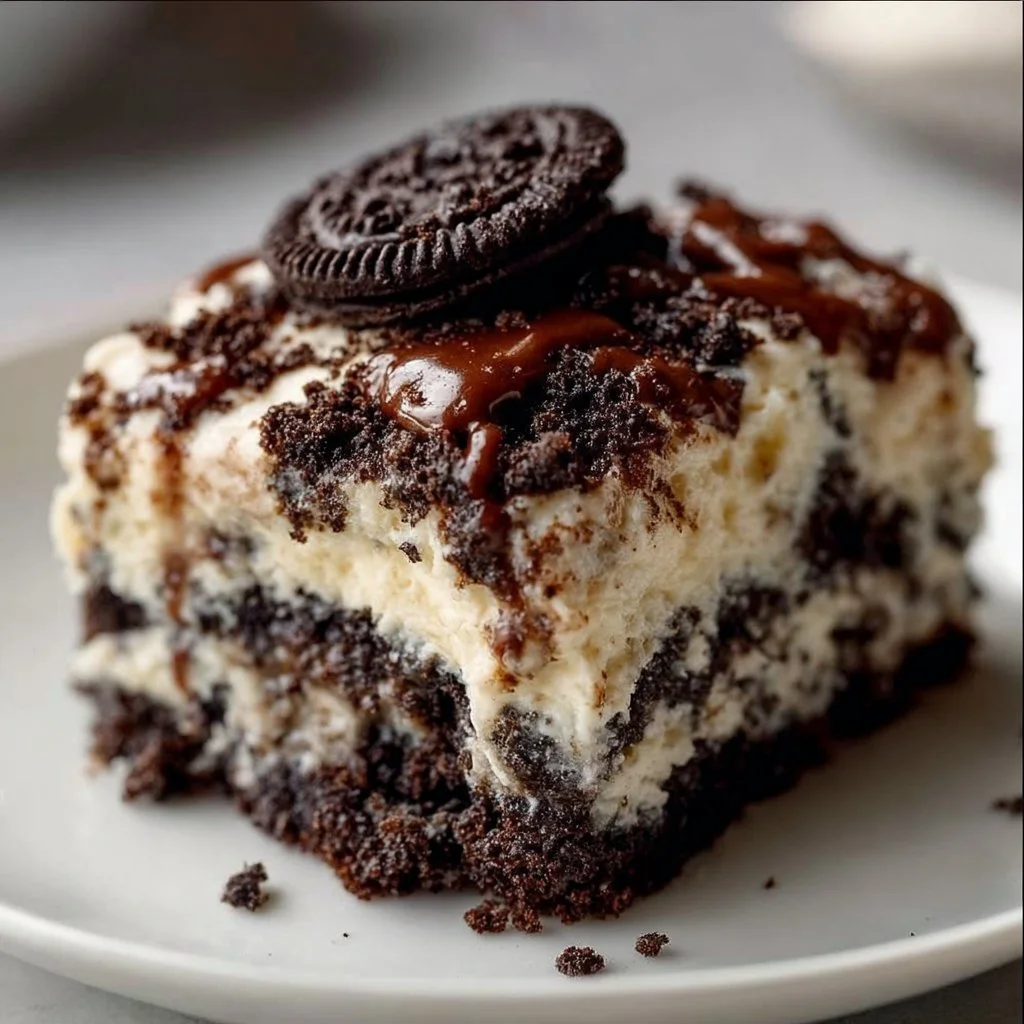
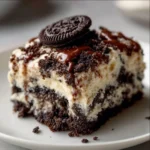
Ever craved something so deliciously sweet it should be illegal? Get ready for Oreo Dump Cake—a decadent treat that’s a total game changer! With just 5 ingredients, this quick and easy recipe is perfect for those moments when you need dessert but don’t want to spend hours in the kitchen. Imagine layers of creamy chocolate pudding and crunchy Oreos, all baked into a deliciously gooey cake that’s giving off the most heavenly aroma. Sounds good, right?
Why Make This Recipe
Why bother making this delightful cake? Here are a few reasons to inspire your inner baker:
- Minimal Cleanup: One pan is all you need, so you’ll be spending more time indulging and less time scrubbing dishes. Who doesn’t want that?
- Kid-Friendly Fun: It’s not just easy; kids can help! Just let them crush those Oreos—perfect for mini-chefs in training.
- Budget-Friendly: With only a handful of ingredients, this treat won’t break the bank. Because who wants to pay for fancy desserts when you can make this at home? 🍰
You don’t need fancy stuff — just these basics!
Ingredients
- 24 Oreo cookies, roughly chopped
- 1 box (3.9 oz) instant chocolate pudding mix
- 2 cups cold milk
- 1 box (15.25 oz) chocolate cake mix
- 1/2 cup unsalted butter, melted
- 1 cup whipped topping (such as Cool Whip)
- 1/2 cup mini chocolate chips (optional)
- Extra Oreo cookies for garnish (optional)
Directions
Follow these simple steps, and you’re on your way to dessert heaven:
- Preheat your oven to 350°F (175°C). Don’t forget to grease a 9×13-inch baking dish lightly.
- Spread the chopped Oreo cookies evenly over the bottom of the baking dish.
- In a medium bowl, whisk together the instant chocolate pudding mix and cold milk until thickened, about 2 minutes.
- Pour the pudding mixture evenly over the Oreos.
- Sprinkle the dry chocolate cake mix over the pudding layer.
- Drizzle the melted butter over the cake mix, covering as much surface as possible.
- Bake in the preheated oven for 35 minutes, or until the top is set and slightly crisp.
- Once baked, remove from the oven and let it cool for 10 minutes.
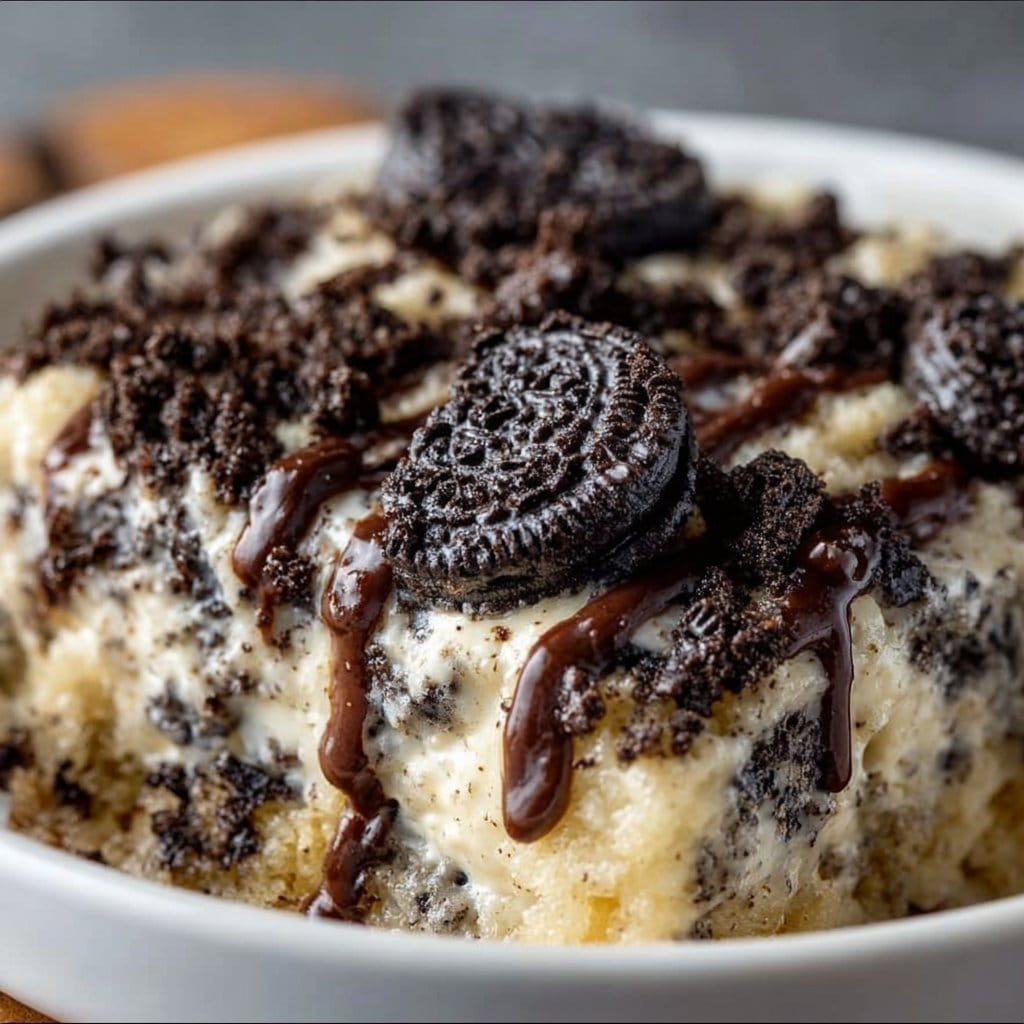
- Top your masterpiece with whipped topping, mini chocolate chips, and extra Oreo cookies, if desired.
- Serve warm or at room temperature.
How to Make Oreo Dump Cake Recipe – Just 5 Ingredients (Overview)
Making this cake is as easy as breathing! You’ll start by preheating your oven, then layer the Oreos, pudding, and cake mix. Seriously, it’s basically mix, layer, and bake.
Pro Tip: Keep an eye on it towards the end of baking—no one likes a cake that’s too crispy!
How to Serve Oreo Dump Cake Recipe – Just 5 Ingredients
Let’s talk serving! This cake is perfect on its own, but you can elevate it even more. Try serving it warm with a scoop of vanilla ice cream melting over the top, or drizzle on some chocolate sauce for that extra WOW factor. Just imagine those crunchy Oreo bits and the smoothness of the pudding—it’s a match made in dessert heaven! 😍
How to Store Oreo Dump Cake Recipe – Just 5 Ingredients
Got leftovers? Lucky you! This cake stays good for about 3–4 days in the fridge. Just cover it well to retain that moistness. For longer storage, you can freeze it for up to 2 months. Just let it thaw overnight in the fridge when you’re ready to indulge again.
Tips to Make Oreo Dump Cake Recipe – Just 5 Ingredients
- Timing is Key: Let the cake cool for a bit before serving. It helps all the flavors meld together beautifully.
- Texture Tweaks: For a more brownie-like texture, bake it a little less, but for a more cake-like bite, keep it to the full 35 minutes.
- Flavor Boost: Add some peanut butter chips or mint chocolate chips for fun twists! Who says you have to follow all the rules? 😉
Variation
Feeling adventurous? Swap out the chocolate cake mix for yellow or red velvet. Want to go vegan? Use dairy-free butter and non-dairy whipped topping—the deliciousness won’t suffer one bit!
FAQs
Can I use different cookies instead of Oreos?
Absolutely! Feel free to swap them for your favorite chocolate cookies.
How can I make this ahead of time?
You can prepare it one day in advance. Just assemble it and store it in the fridge until you’re ready to bake.
Can I make this gluten-free?
Yes! Choose gluten-free cake mix and cookies to keep it gluten-free. More dessert options are always better!
📌 Pin this recipe for your next cozy dinner night!
Oreo Dump Cake
Ingredients
Method
- Preheat your oven to 350°F (175°C) and lightly grease a 9×13-inch baking dish.
- Spread the chopped Oreo cookies evenly over the bottom of the baking dish.
- In a medium bowl, whisk together the instant chocolate pudding mix and cold milk until thickened, about 2 minutes.
- Pour the pudding mixture evenly over the Oreos.
- Sprinkle the dry chocolate cake mix over the pudding layer.
- Drizzle the melted butter over the cake mix, covering as much surface as possible.
- Bake in the preheated oven for 35 minutes, or until the top is set and slightly crisp.
- Once baked, remove from the oven and let it cool for 10 minutes.
- Top with whipped topping, mini chocolate chips, and extra Oreo cookies if desired.
- Serve warm or at room temperature.