Grilled Cheese Burrito
Ever craved a cheesy explosion wrapped in a warm tortilla?
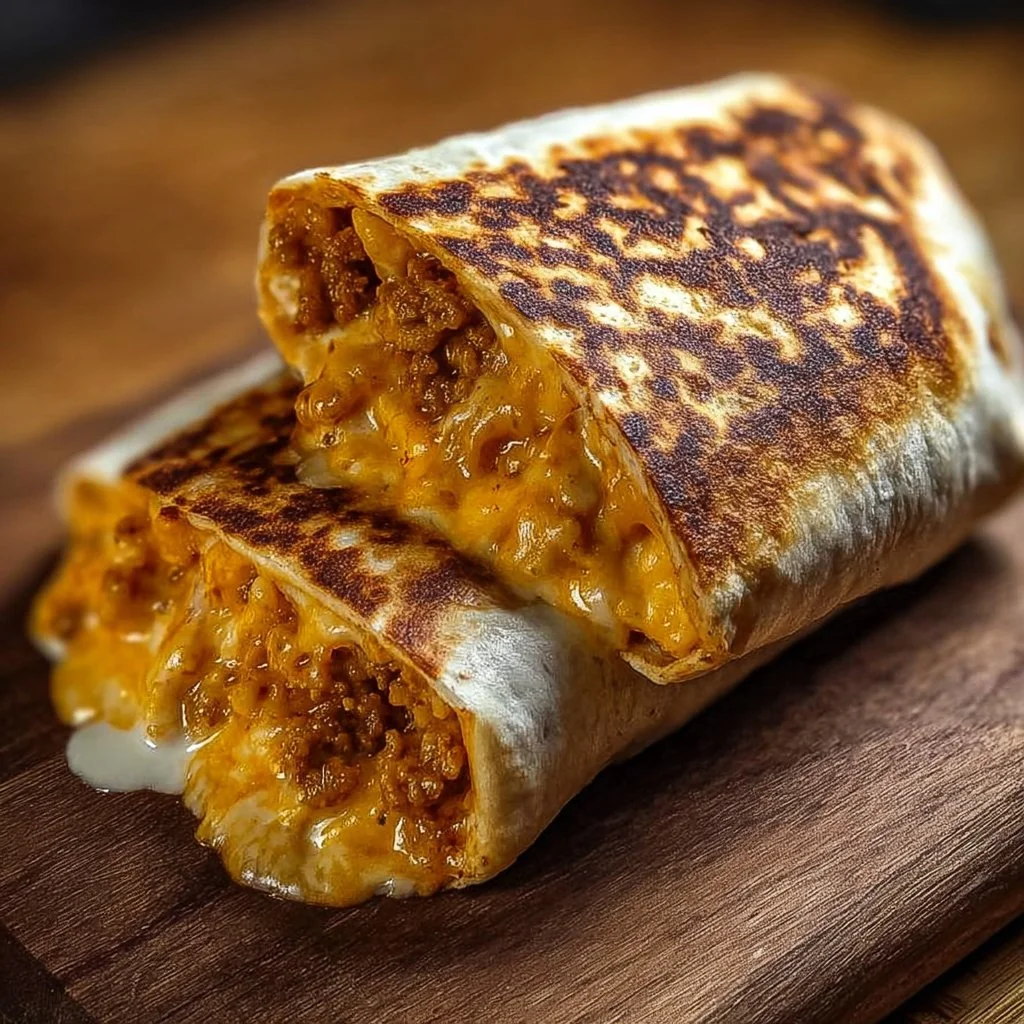
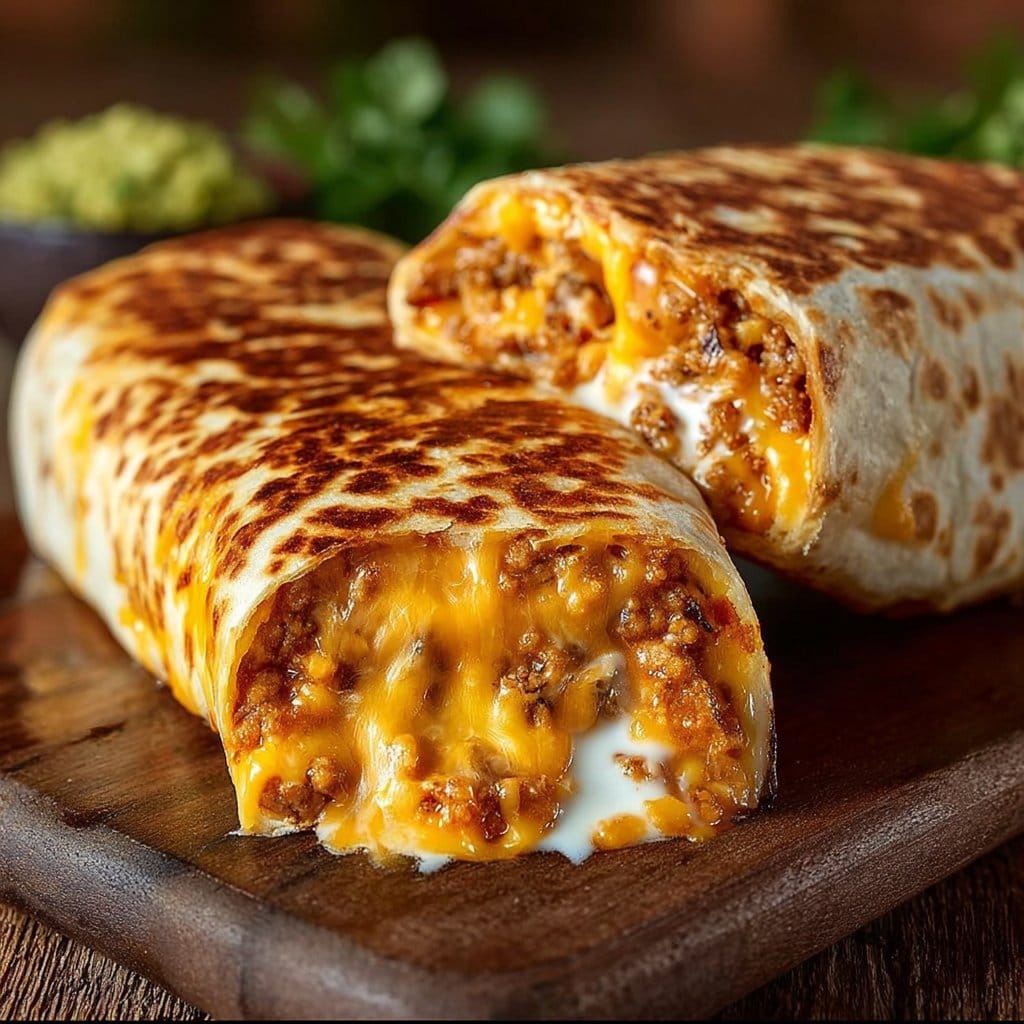
This Grilled Cheese Burrito combines comforting layers of flavor and texture that will have you reaching for seconds. It’s a quick and easy meal, perfect for busy weekdays or weekend indulgences, and it all happens in one pan! Picture this: gooey cheese oozing from a crispy shell, seasoned beef, and creamy sauces dancing together like a fiesta in your mouth. Sounds tempting, right?
Why make this recipe
Why bother with complicated meals when you can whip up this delicious burrito in no time? Here are some reasons to try this:
- Easy cleanup: One skillet, one burrito, and your kitchen stays mess-free.
- Family-friendly: It’s got all the flavors your kids love. Seriously, who can resist cheese?
- Budget-friendly: It won’t break the bank, so you can save your cash for something fun! 🎉
Ingredients:
You don’t need fancy stuff — just these basics!
- 1 lb ground beef
- 1 packet taco seasoning (or homemade blend)
- 1 cup cooked white rice
- 1/2 cup sour cream
- 1/2 cup nacho cheese sauce
- 1/4 cup chipotle sauce
- 1 cup shredded cheddar cheese
- 1 cup shredded mozzarella
- 4 large flour tortillas
- Butter or oil for grilling
Directions:
Making this burrito is a breeze! Follow these quick steps:
Cook the Beef (8–10 mins):
- Brown the ground beef in a skillet over medium heat.
- Drain excess grease.
- Add taco seasoning and 1/4 cup water, simmer for 5 minutes.
Warm the Tortillas:
- Heat tortillas on a dry skillet or in the microwave for flexibility.
Assemble the Burrito (5 mins):
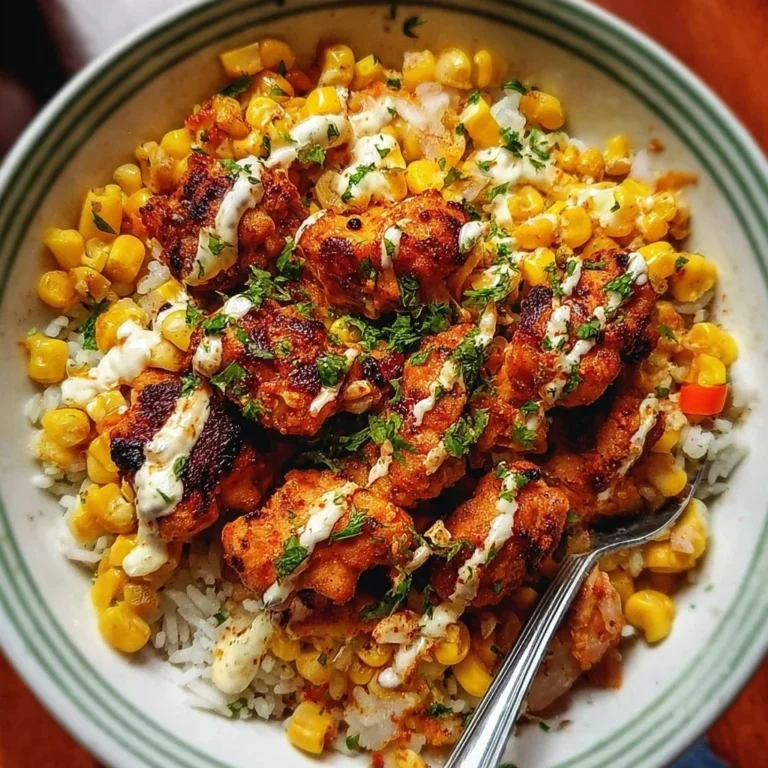
- Lay a tortilla flat and layer with rice, seasoned beef, nacho cheese, chipotle sauce, and sour cream.
- Top with shredded cheddar and mozzarella.
Grill the Burrito (3–4 mins per side):
- Heat a clean skillet and sprinkle 2 tbsp of shredded cheese.
- Place the burrito seam-side down and cook until cheese melts and forms a crispy crust.
- Flip and repeat.
How to make Grilled Cheese Burrito (Overview)
Ready to dive into this cheesy goodness? Start by cooking the beef until it’s nicely browned, then season it to perfection. While that’s cooking, warm up your tortillas; trust me, it makes wrapping everything way easier! Layer your burrito with rice, beef, and lots of cheese—the more, the merrier. Finally, grill it ‘til it’s golden and crispy. Pro tip: Don’t skip toasting your burrito; it’s the crispiness that makes it a winner! 👌
How to serve Grilled Cheese Burrito
Serve your Grilled Cheese Burrito with a side of spicy salsa and crunchy tortilla chips for an extra kick! Picture your plate with vibrant colors, from the gooey melted cheese to the tantalizing red salsa. The aroma wafting through your kitchen will surely draw everyone to the table.
How to store Grilled Cheese Burrito
Looking to save some for later? These burritos will keep in your fridge for up to 3 days. Just wrap them tightly to avoid drying out. Need to reheat? Toss them in the air fryer or a pan until warmed through. You can also make them ahead and freeze them for up to 3 months. Just make sure to wrap them snugly!
Tips to make Grilled Cheese Burrito
- Meal Prep: Make a double batch of seasoned beef and rice for easy burrito assembly later!
- Cheese Swap: Feel free to swap out the mozzarella for pepper jack for an extra kick.
- Add Veggies: Sneak in some sautéed peppers or onions for added flavor and crunch.
- Dipping Sauces: Experiment with different sauces like guacamole or ranch for dipping!
Variation
Want to mix it up? Try making a vegan version using ground plant-based meat and vegan cheese! You can also toss in some black beans or corn for extra texture. Feeling adventurous? Add some jalapeños for a spicy twist!
FAQs
1. Can I freeze the grilled cheese burritos?
Absolutely! Wrap them tightly and freeze for up to 3 months.
2. How do I reheat them?
Use an air fryer or pan to maintain that crispy texture.
3. Can I skip the sour cream?
For sure! You can substitute with Greek yogurt or use extra nacho cheese instead.
📌 Pin this recipe for your next cozy dinner night!

Grilled Cheese Burrito
Ingredients
Method
- Brown the ground beef in a skillet over medium heat.
- Drain excess grease.
- Add taco seasoning and 1/4 cup water, simmer for 5 minutes.
- Heat tortillas on a dry skillet or in the microwave for flexibility.
- Lay a tortilla flat and layer with rice, seasoned beef, nacho cheese, chipotle sauce, and sour cream.
- Top with shredded cheddar and mozzarella.
- Heat a clean skillet and sprinkle 2 tbsp of shredded cheese.
- Place the burrito seam-side down and cook until cheese melts and forms a crispy crust.
- Flip and repeat on the other side.