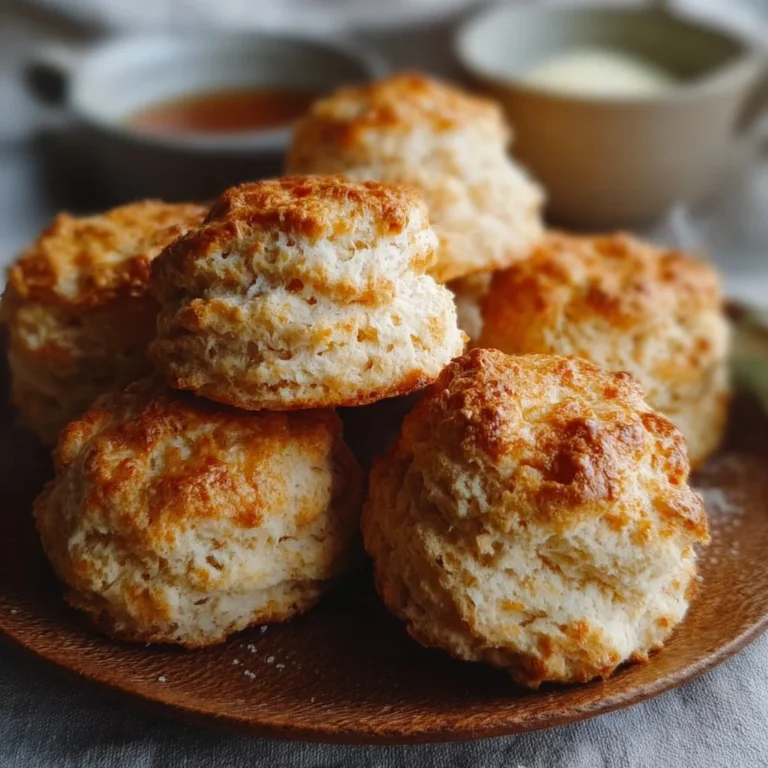
Gluten Free Bread
The Best Gluten-Free Bread You’ve Ever Tasted!
Ever walked into a bakery and had your senses whisked away by the scent of freshly baked bread? Now, picture that same aroma wafting through your home while gluten-free bread bakes in your oven. This recipe will have you feeling like a bread-making superstar, and it’s surprisingly easy and quick! Seriously, you’ll wonder why you ever bought gluten-free bread from the store.
Why Make This Recipe
There are a million reasons to whip up this delightful bread.
- Easy Cleanup: Who wants to spend an hour in the kitchen scrubbing dishes? Not me! This recipe is straightforward, and the cleanup is a breeze.
- Affordable Ingredients: You don’t need to break the bank to enjoy homemade gluten-free goodness. It’s made with basic pantry staples.
- Family-Friendly: Kids and picky eaters alike will love the soft texture and fresh flavor. Plus, you get major “cool parent” points for making it from scratch!
Ingredients
You don’t need fancy stuff — just these basics!
- 2 cups gluten-free flour blend
- 1 cup warm water
- 1 tablespoon olive oil
- 1 tablespoon honey
- 1 teaspoon salt
- 1 teaspoon baking powder
- 1 teaspoon active dry yeast
Directions
Ready to become a gluten-free bread hero? Here’s how:
- Preheat your pizza oven or home oven to 375°F (190°C).
- In a bowl, combine warm water, honey, and active dry yeast. Let it sit for about 5-10 minutes until frothy.
- In a separate bowl, mix gluten-free flour, salt, and baking powder.
- Add the yeast mixture and olive oil to the dry ingredients; mix until combined.
- Pour the batter into a greased loaf pan.
- Let it rise in a warm place for about 30 minutes.
- Bake for 30-35 minutes or until golden brown.
- Let it cool before slicing.
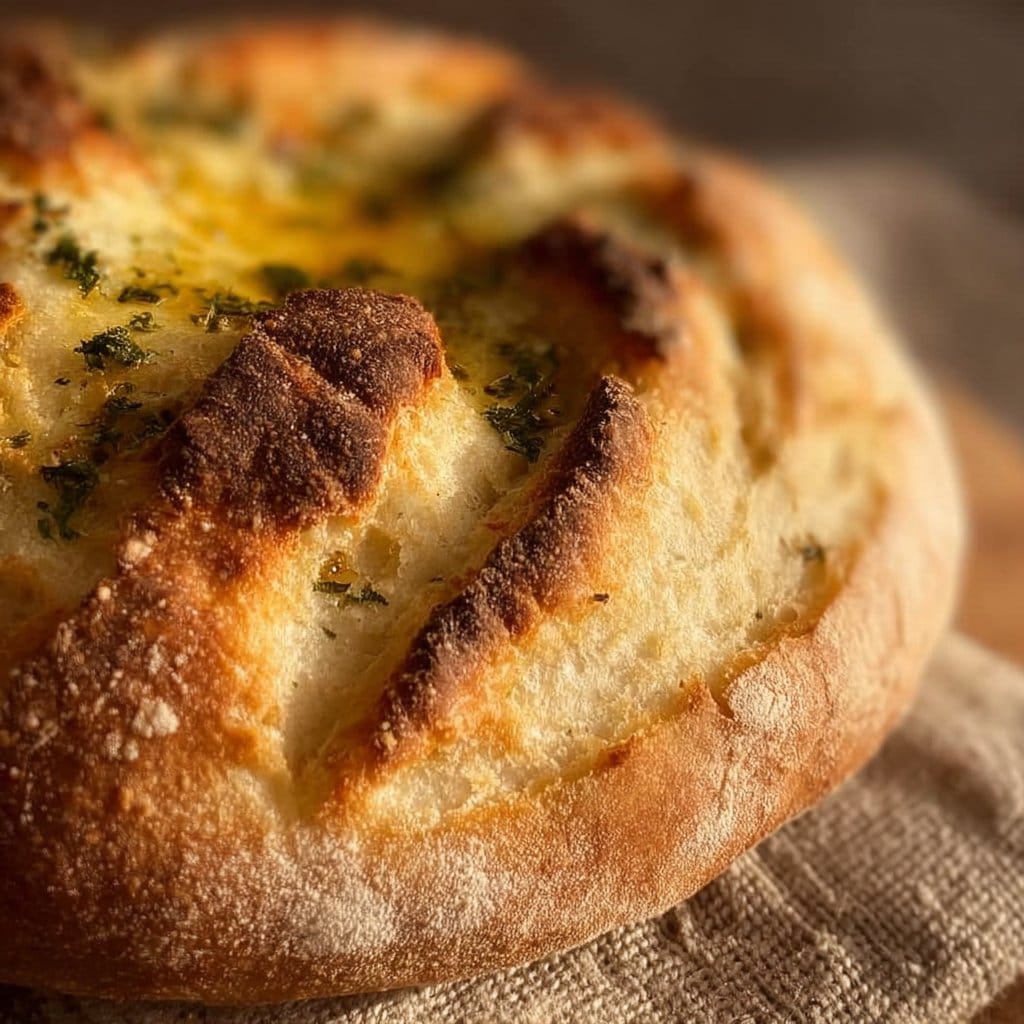
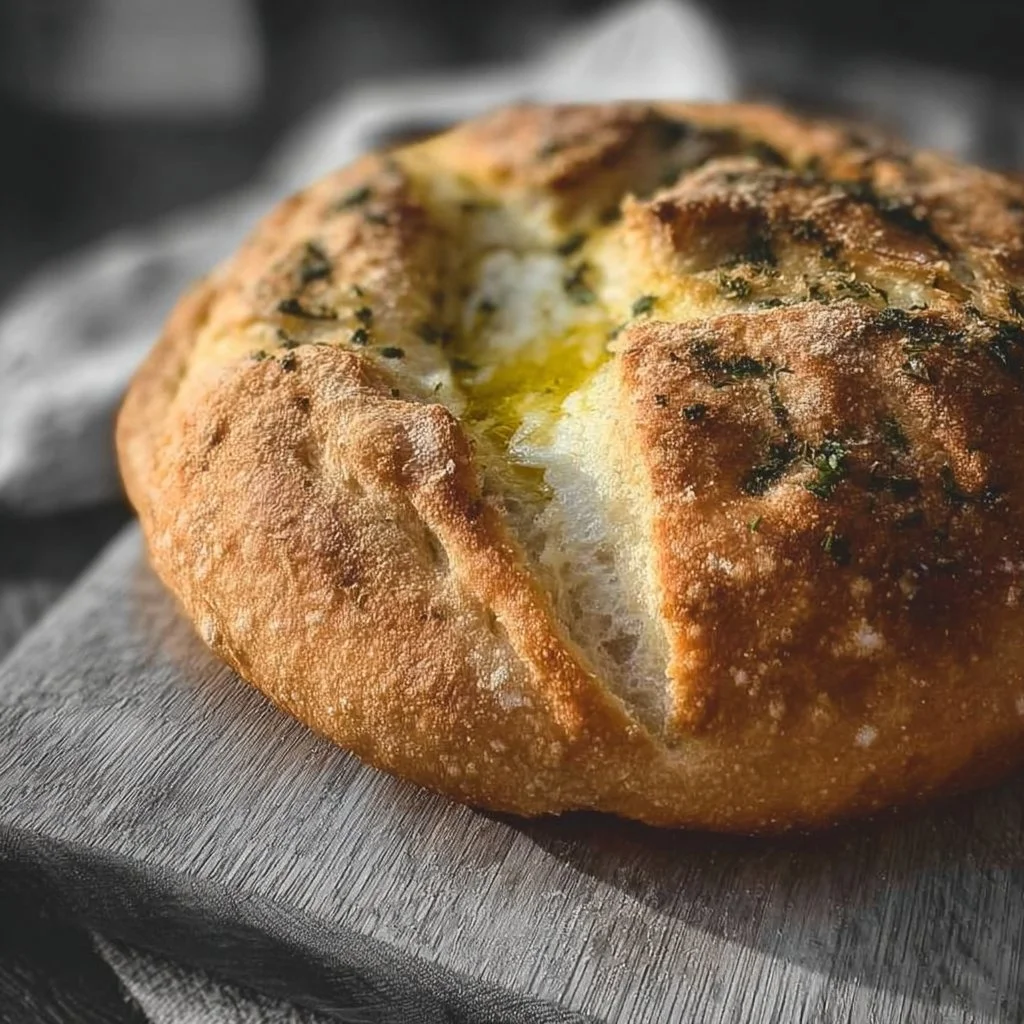
How to Make Gluten Free Bread (Overview)
Making this bread is a delightful, straightforward process. First, you’ll get your yeast all frothy, which is basically yeast required for a successful rise. Then, mix the dry ingredients. Don’t rush this part; give your batter the love it deserves before you transfer it to the loaf pan. After a little bit of rising, pop it into the oven, and let the magic happen! Pro tip: Keep an eye on it as it bakes; you’ll want to catch that golden brown moment for an Instagram-worthy loaf!
How to Serve Gluten Free Bread
So you’ve just whipped up this gorgeous loaf; what now? Serve it warm, with a drizzle of olive oil or a pat of butter melting on top. Picture this: a crusty exterior with a soft, fluffy interior—absolute perfection! You can also slice it up for sandwiches, use it for toast, or even serve it with your favorite soup for a cozy night in. Just try not to eat it all in one sitting! 😋
How to Store Gluten Free Bread
Wondering how long your delicious creation will last? This gluten-free bread keeps well for about 3-5 days at room temperature if stored in an airtight container. Want it to last longer? Pop it in the freezer, and it can survive for about 3 months! Just toast it after thawing for a quick rejuvenation.
Tips to Make Gluten Free Bread
- Mix it well: Make sure there are no dry spots in your batter before pouring it into the pan.
- Choose the right flour: A good gluten-free flour blend can change the game! They vary in texture and flavor, so find one you love.
- Keep it warm: Yeast loves the warmth! Find a nice cozy spot in your kitchen for it to rise.
- Don’t rush the cooling: Let it cool properly before slicing. This prevents it from becoming gummy.
Variation
Want to switch things up? Add some herbs or spices like rosemary or garlic for a savory twist. You can also replace honey with maple syrup to keep it vegan. Get creative with your mix-ins like nuts or dried fruits for an even more exciting loaf!
FAQs
Can I use regular flour instead of a gluten-free blend?
Nope, this recipe requires a gluten-free flour blend to achieve that delightful texture without gluten.
Can I make the dough ahead of time?
Yes! You can prepare the dough and let it rise in the fridge for a couple of hours or overnight.
How do I freeze leftover bread?
Slice the bread and wrap each slice tightly in plastic wrap, then place them in a freezer-safe bag to prevent freezer burn.
So what are you waiting for? Get your ingredients, fire up that oven, and enjoy the wonderful world of homemade gluten-free bread!
📌 Pin this recipe for your next cozy dinner night!

Gluten-Free Bread
Ingredients
Method
- Preheat your pizza oven or home oven to 375°F (190°C).
- In a bowl, combine warm water, honey, and active dry yeast. Let it sit for about 5-10 minutes until frothy.
- In a separate bowl, mix gluten-free flour, salt, and baking powder.
- Add the yeast mixture and olive oil to the dry ingredients; mix until combined.
- Pour the batter into a greased loaf pan.
- Let it rise in a warm place for about 30 minutes.
- Bake for 30-35 minutes or until golden brown.
- Let it cool before slicing.