Crafting Your Own Apple Cider Vinegar at Home
Why Make This Recipe
So, you’ve been hearing about the wonders of apple cider vinegar (ACV) and its health benefits, right? You might be wondering why you should bother making it at home instead of just snagging a bottle from the store. Well, let me tell you!
- Freshness: Nothing beats DIY freshness. Store-bought vinegar can’t compare to the zing and flavor of the homemade variety.
- Control: You control everything—from the type of apples you use to how tangy it gets.
- Satisfaction: Let’s face it, making your own stuff feels good. And you can brag to your friends about your kitchen prowess. Who doesn’t love a little bragging rights? 😏
How to Make Crafting Your Own Apple Cider Vinegar at Home
Crafting your own ACV is like being a culinary scientist, and it’s way easier than you might think. Just gather a few ingredients, and you’re on your way to homemade deliciousness!
Ingredients:
- Apples: Around 6-10 apples (cores, peels, or the ones you forgot about in the back of the fridge work too!)
- Sugar: 1 cup. Think of it as the “encouragement” for fermentation.
- Water: Enough to cover the apples—filtered is best!
- A large jar: About a quart size or bigger. You need space for the magic to happen!
Directions:
- Prepare the apples: Chop your apples into small pieces. Don’t worry about being too precise. Toss in those cores and peels!
- Mix the sugar and water: Stir the sugar into the water until it’s dissolved.
- Combine them: Place the apple bits into your jar and pour the sugar water over them. Ensure the apples stay submerged (a weight can help—just use something clean).
- Cover it up: Use a cheesecloth or coffee filter secured with a rubber band. This allows it to breathe, but keeps the nasties out!
- Let it sit: Place your jar somewhere dark and warm (like your cupboard) and let it ferment for 3-4 weeks. Remember to give it a stir or shake every few days.
- Strain: After a month, strain the liquid from the solids. What you have left is the ‘hard cider’ stage.
- Ferment again: Save that liquid back in the jar, and cover it loosely again. Let it ferment for another 3-4 weeks.
- Taste test: Give it a taste! If it’s tangy and your mouth does that delightful pucker thing, you’re golden. If it’s not quite there, let it sit a bit longer.
How to Serve Crafting Your Own Apple Cider Vinegar at Home
Now that you’ve successfully created your very own elixir, how do you use it? Here are a few ideas:
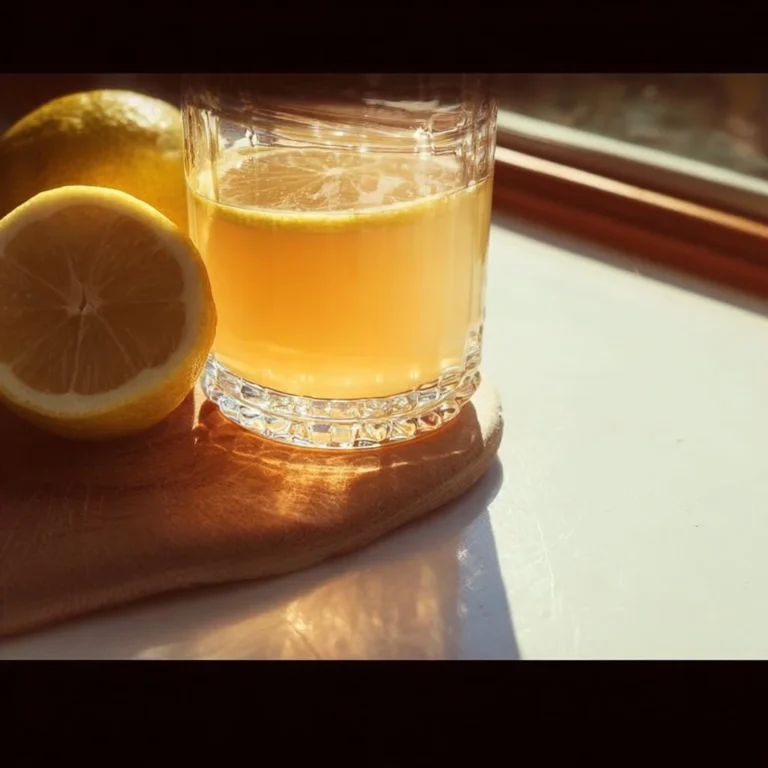
- Healthy drinks: Mix it with water and a bit of honey for a refreshing drink.
- Dressings and marinades: Use it to elevate your salads and chicken dishes.
- Health shots: A tablespoon a day can do wonders for digestion (don’t say I didn’t warn you—it’s a strong taste! 😅).
How to Store Crafting Your Own Apple Cider Vinegar at Home
Once your masterpiece is done, store it in a clean, dark bottle or jar. Keep it in the pantry or a dark cupboard. Just make sure to use it within a year for best quality.
Tips to Make Crafting Your Own Apple Cider Vinegar at Home
- Use organic apples: They have fewer pesticide residues and are better for you overall.
- Patience is key: Good things come to those who wait—especially when it comes to fermentation.
- Funk is normal: If it smells a little off, don’t panic. That’s just the fermentation process doing its thing!
Variation
Feeling adventurous? Try experimenting with different flavors! You can add:
- Spices like cinnamon sticks or ginger for a kick.
- Herbs like rosemary or thyme for a unique twist.
- Other fruits like pears or berries to mix it up.
FAQs
1. Can I use any type of apples?
Absolutely! Use whatever you have on hand. Just avoid the ones that are rotting, okay?
2. How do I know when it’s ready?
Taste it! When it reaches that beautiful balance of tangy and flavorful, you’re good to go. Just don’t let it go too long or you’ll end up with something that’ll make you pale.
3. What’s the shelf life of homemade ACV?
If stored properly, it can last up to a year. However, for best flavor and potency, try to use it within six months.
Now, go ahead and unleash your inner vinegar-making wizard! It’s a fun and rewarding kitchen adventure that comes with a splash of personality! 😉
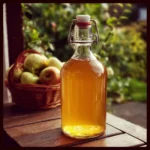
Apple Cider Vinegar
Ingredients
Method
- Chop your apples into small pieces, including cores and peels.
- Stir sugar into water until dissolved.
- Place apple pieces into the jar and pour sugar water over them. Make sure apples are submerged.
- Cover the jar with cheesecloth or coffee filter secured with a rubber band.
- Place the jar in a dark, warm place for 3-4 weeks, stirring or shaking every few days.
- After 3-4 weeks, strain the liquid from the solids.
- Return the liquid back to the jar, covered loosely, and let it ferment for another 3-4 weeks.
- Taste the vinegar periodically until it reaches your desired tanginess.