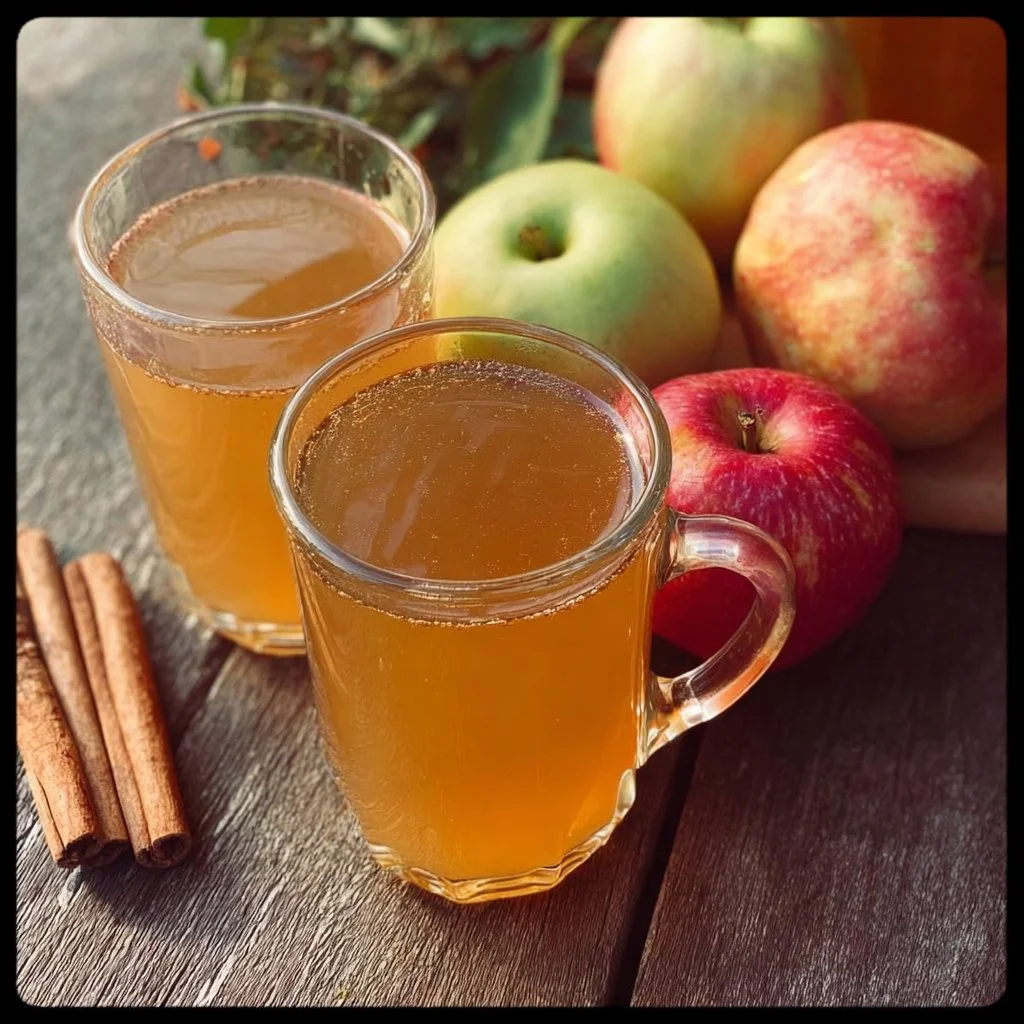
Homemade Apple Cider
Why Make This Recipe
Making Homemade Apple Cider is like wrapping yourself in a warm, cozy blanket on a chilly fall day. 🍏✨ Seriously, who doesn’t love that burst of apple goodness? Not only does it taste much better than store-bought, but you also get to control what goes into it. Plus, making cider can be a fun bonding activity for the whole family.
And let’s be honest, nothing beats filling your home with the sweet aroma of simmering spices. You’ll be the host with the most when you whip this up for your next gathering!
How to Make Homemade Apple Cider
Ready to dive in? Making apple cider is both simple and satisfying. You’ll feel like a total kitchen wizard in no time! Here’s a breakdown of the process:
- Gather your ingredients and equipment.
- Core and quarter your apples.
- Combine apples and spices in a pot.
- Boil and then simmer for an aromatic brew.
- Strain, bottle, and you’re golden!
Easy as pie—err, cider!
Ingredients
- 12 apples (cored; I recommend Sunrise or Honeycrisp for their flavor)
- 14 cups water
- 5 cinnamon sticks
- 6 cloves (whole)
- 1 teaspoon ground nutmeg
Directions
- Core and Cut: Core all the apples and cut them into quarters. Toss them into a large pot along with the spices.
- Add Water: Fill the pot with water, making sure the apples are floating. If they’re not, add extra water so they sit at least 2 inches above the bottom.
- Boil: Bring everything to a boil and keep it going over medium-high heat, uncovered, for 1 hour and 30 minutes.
- Simmer: Cover the pot, reduce the heat to a simmer, and cook for another 2 hours. Your cider should look golden brown and taste heavenly by now.
- Strain: Pour the mixture through a strainer lined with two layers of cheesecloth over a large bowl (or another pot). Let it drain until you’ve released all that tasty liquid. Pro tip: save the apple pulp for baking! Just ditch the used spices.
- Bottle Up: Transfer your fresh apple cider to sterilized jars or a pitcher. Sip it hot or chill it for a refreshing cold drink!
How to Serve Homemade Apple Cider
You can jazz up your Homemade Apple Cider in several ways! Serve it hot in a cute mug with a cinnamon stick for stirring—talk about a cozy vibe. Or, pour it over ice for a refreshing treat on a warm day. Want to kick it up a notch? Add a splash of rum or bourbon for an adult version. 😉
How to Store Homemade Apple Cider
Store your freshly made cider in the fridge, and it should stay delicious for about 1 week. If you want to keep it longer, pour it into freezer-safe containers, leaving room for expansion, and freeze. Say goodbye to store-bought and hello to homemade goodness anytime you want! ❄️
Tips to Make Homemade Apple Cider
- Use a mix of apples to enhance the flavor. Try sweet and tart varieties for a balanced taste.
- Don’t skip the spices—these are what transform your cider from "meh" to "wow!"
- Adjust the sugar level to your liking. If your apples are super sweet, you might not need much added sugar.
- For a smoother cider, strain a bit longer, or use a fine-mesh sieve after the cheesecloth.
Variation
Feeling adventurous? Try adding orange peels or ginger to your simmering pot for a zesty twist! You can also play around with different spices—star anise, anyone?
FAQs
Q: Can I use any apple variety?
A: Technically, yes! But for the best flavor, go with sweet or tart apples like Honeycrisp, Fuji, or Granny Smith.
Q: How do I know when the cider is ready?
A: Your cider should look a lovely golden brown and smell incredible. After simmering, taste it! If it’s delicious, you’re good to go!
Q: Can I ferment my apple cider?
A: Absolutely! If you want to create hard cider, you’ll need to add yeast and follow fermentation processes. Just make sure you’re ready for some bubbly fun! 🍾
Now, grab your apples and get to cidering! Your taste buds will thank you later!

Homemade Apple Cider
Ingredients
Method
- Core all the apples and cut them into quarters. Toss them into a large pot along with the spices.
- Fill the pot with water, making sure the apples are floating. If they’re not, add extra water so they sit at least 2 inches above the bottom.
- Bring everything to a boil and keep it going over medium-high heat, uncovered, for 1 hour and 30 minutes.
- Cover the pot, reduce the heat to a simmer, and cook for another 2 hours.
- Your cider should look golden brown and taste heavenly by now.
- Pour the mixture through a strainer lined with two layers of cheesecloth over a large bowl (or another pot). Let it drain until you’ve released all that tasty liquid.
- Transfer your fresh apple cider to sterilized jars or a pitcher. Sip it hot or chill it for a refreshing cold drink!


