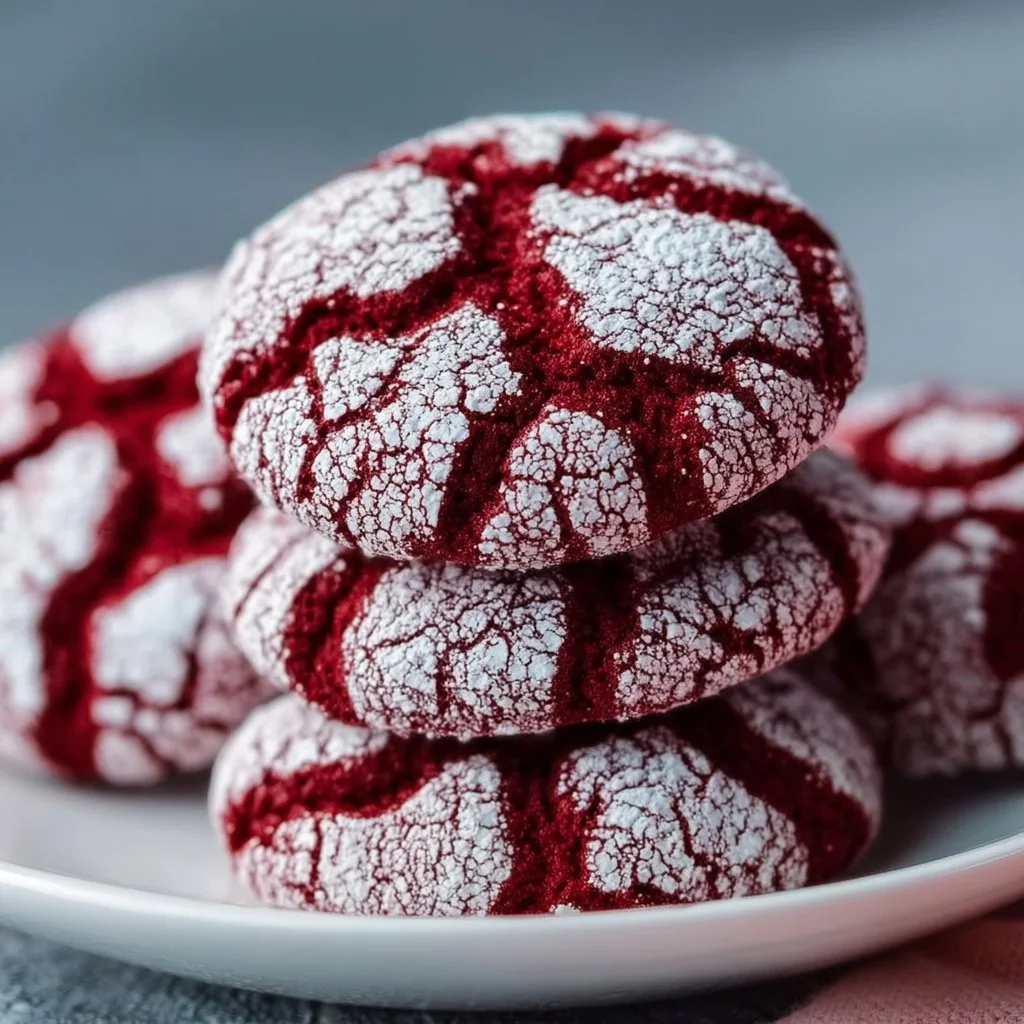
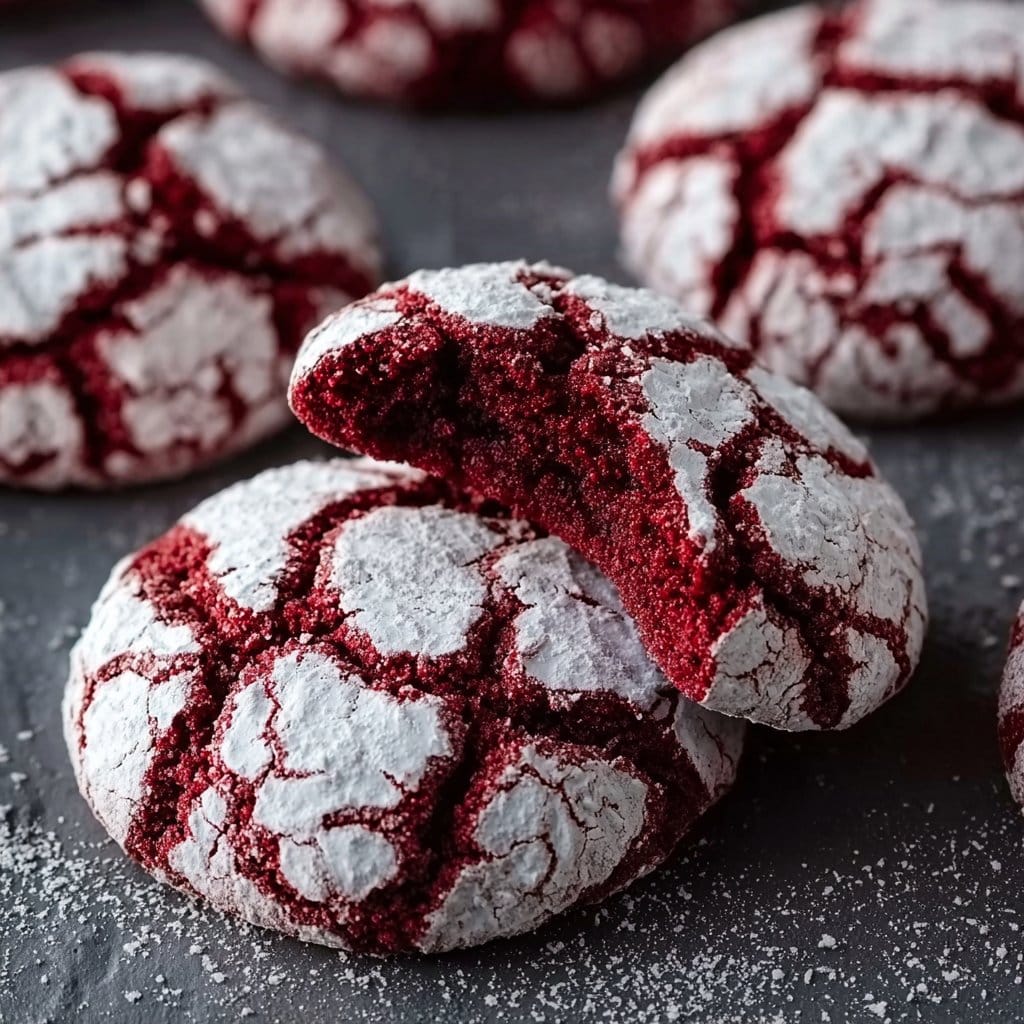
Red Velvet Crinkle Cookies
Who can resist a cookie that combines the luxurious allure of red velvet with the delightful sweetness of crinkles?
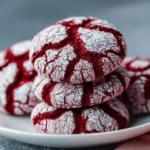
These Red Velvet Crinkle Cookies are a celebration of flavor and texture. With their vibrant color and soft, chewy centers dusted in powdered sugar, they’re not just visually stunning; they’re quick to whip up and guaranteed to impress. Imagine biting into a cookie that’s both rich and sweet, with that unmistakable hint of cocoa — pure bliss!
Why make this recipe
So, why should you rush to make these cookies? For starters, they’re incredibly easy to make, which is perfect for those "I want cookies NOW" moments. Plus, the cleanup is as minimal as it gets; you’ll just need one or two bowls. And let’s be real, who doesn’t love a cookie that looks like it belongs in a bakery? They’re also perfect for family get-togethers, holiday celebrations, or simply because it’s Wednesday 😉
Ingredients
You don’t need fancy stuff — just these basics! Grab the following ingredients:
- 2 cups all-purpose flour
- 2 tablespoons cocoa powder
- 1 teaspoon baking powder
- 1/2 teaspoon salt
- 1/4 cup unsalted butter, melted
- 1 cup granulated sugar
- 1 large egg
- 1 teaspoon vanilla extract
- 1 tablespoon red food coloring
- Powdered sugar for rolling
Directions
Ready to make these little wonders? Follow these simple steps:
- Preheat the oven to 350°F (175°C).
- In a bowl, mix together the flour, cocoa powder, baking powder, and salt.
- In a separate bowl, combine the melted butter and sugar.
- Add the egg, vanilla extract, and red food coloring to the butter mixture and mix until well combined.
- Gradually add the dry ingredients to the wet ingredients and mix until just combined.
- Chill the dough in the refrigerator for about 30 minutes.
- Scoop tablespoon-sized balls of dough and roll them in powdered sugar.
- Place them on a lined baking sheet and bake for 10-12 minutes until crinkled.
- Allow to cool before serving.
How to make Red Velvet Crinkle Cookies (Overview)
Let’s break it down, shall we? Start by mixing your dry ingredients; this is the backbone of your cookie. Then, melt that butter and mix it with sugar — the dream team, right? Next, add in your egg, vanilla, and that vibrant red food coloring (it’s what gives them that gorgeous color!). Mix in the dry ingredients, chill the dough, and then roll them into balls and coat them in powdered sugar. Bake them until crinkly, and voilà! Cookie magic! ✨ Pro tip: The chilling step is essential for those perfect crinkles!
How to serve Red Velvet Crinkle Cookies
These cookies are every bit as delightful as they sound. Picture this: a deep red cookie, soft and chewy at the core, with a satisfying crunch from the powdered sugar coating. Perfect served warm with a glass of milk or alongside a scoop of vanilla ice cream for an extra treat. The sweet cocoa aroma that wafts through the kitchen guarantees an instant smile. 🍪
How to store Red Velvet Crinkle Cookies
Wondering how long these beauties will last? They can keep for about 1 week in an airtight container at room temperature. If you want to enjoy them later, try freezing them; they stay delicious for up to 3 months! Just make sure to thaw them before enjoying again.
Tips to make Red Velvet Crinkle Cookies
- Don’t skip the chilling step — it really enhances the texture.
- Try using ** brown sugar** instead of granulated for a deeper flavor.
- Add a pinch of espresso powder to amplify the chocolate notes.
- If the dough is too sticky, simply sprinkle a touch of flour to manage it.
- For extra flair, throw in some chocolate chips; who wouldn’t want more chocolate? 😋
Variation
Feeling a bit adventurous? Switch things up by making these cookies vegan! Replace the egg with flaxseed meal or applesauce, and substitute the butter with coconut oil. You can also experiment with flavors by including peppermint extract for a festive twist or even a splash of almond extract for something uniquely delightful.
FAQs
Can I use cake flour instead of all-purpose flour?
Sure! Cake flour will yield a more tender texture.
What if I don’t have red food coloring?
You can use beet juice for a natural option! It’ll give you a slightly different color but keeps the essence of red velvet.
How do I make these cookies crispy?
If you prefer a bit of crunch, try baking them slightly longer. Keep an eye on them so they don’t burn!
📌 Pin this recipe for your next cozy dinner night!
Red Velvet Crinkle Cookies
Ingredients
Method
- Preheat the oven to 350°F (175°C).
- In a bowl, mix together the flour, cocoa powder, baking powder, and salt.
- In a separate bowl, combine the melted butter and sugar.
- Add the egg, vanilla extract, and red food coloring to the butter mixture and mix until well combined.
- Gradually add the dry ingredients to the wet ingredients and mix until just combined.
- Chill the dough in the refrigerator for about 30 minutes.
- Scoop tablespoon-sized balls of dough and roll them in powdered sugar.
- Place them on a lined baking sheet and bake for 10-12 minutes until crinkled.
- Allow to cool before serving.