Homemade Dutch Oven Apple Cider Recipe
why make this recipe
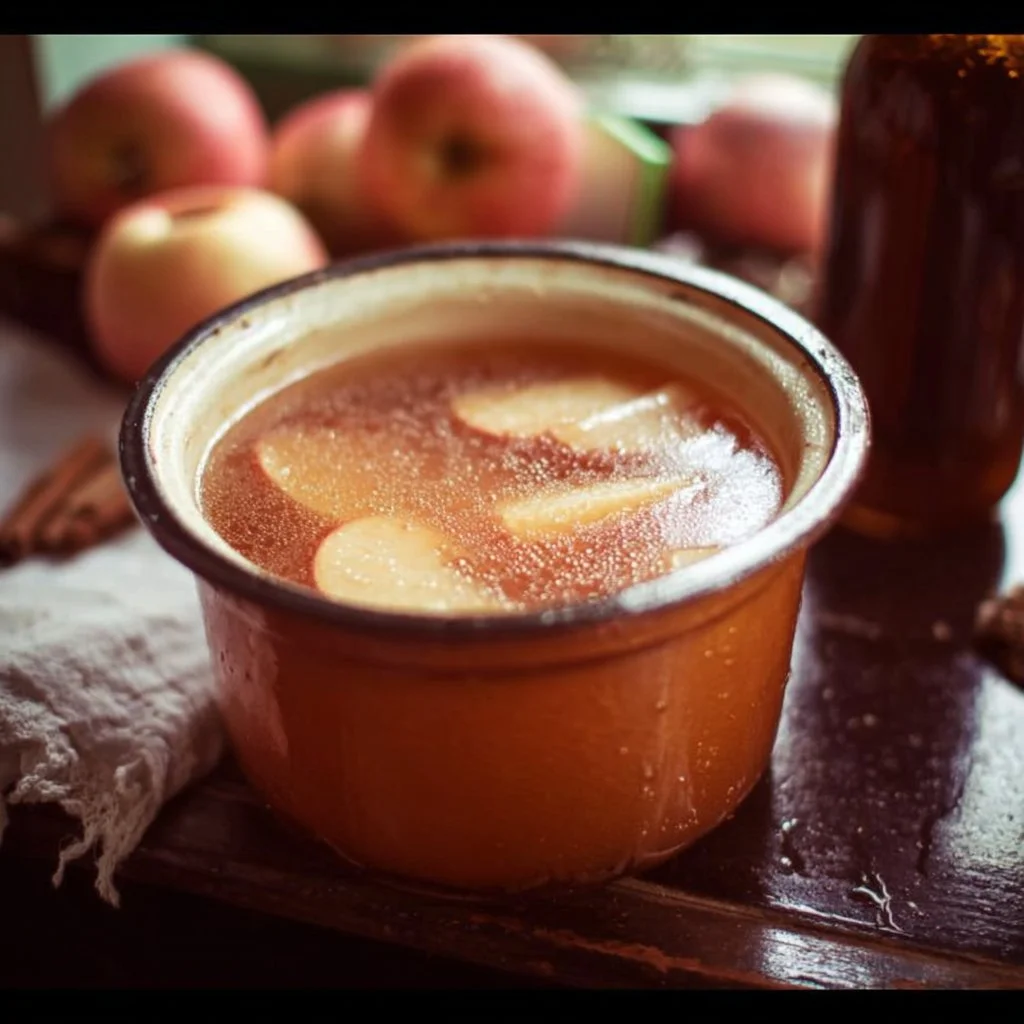
Imagine walking into your home, greeted by the warm, cozy aroma of apple cider simmering away. Can you smell it already? Making your own Homemade Dutch Oven Apple Cider isn’t just about the taste; it’s about the experience! It’s ridiculously easy, way better than store-bought, and you can impress friends and family with your culinary skills. Plus, who doesn’t love sipping on something homemade during those chilly evenings? 🍏🍂
how to make Homemade Dutch Oven Apple Cider Recipe
Ready to embark on your cider-making adventure? You’ll transform simple ingredients into a tasty masterpiece! Don’t worry; it’s as easy as pie (or should I say, cider?). Just follow these steps and you’ll have a scrumptious drink in no time. Basically, you chop, simmer, strain, and enjoy!
Ingredients :
- 3 lbs apples (about 8-10 medium-sized apples)
- 1 orange, sliced
- 1 tsp cloves
- 4 cinnamon sticks
- 1 tsp allspice
- 2 quarts water (8 cups)
Directions :
- Wash the apples and orange thoroughly.
- Cut the apples into quarters, keeping the skin on. Slice the orange into rounds with the peel intact.
- In a large Dutch oven (or crockpot), add the apple quarters, orange slices, cloves, cinnamon sticks, and allspice.
- Pour in 2 quarts of water over the fruit and spices.
- Place the Dutch oven on medium heat and bring to a boil.
- Once boiling, reduce heat to low, cover, and simmer for 2 hours, stirring occasionally and pressing the fruit to release flavors.
- After 2 hours, use a potato masher or the back of a spoon to crush the apples and orange slices to extract more flavor.
- Continue simmering the cider for another 2 hours.
- Carefully strain the mixture through a fine mesh sieve or cheesecloth into another pot or heat-safe pitcher, pressing down on the solids to extract as much liquid as possible.
- Serve the cider warm or let it cool and refrigerate for later use. Reheat as needed, or proceed to can for long-term storage.
- While cider simmers, wash jars with hot soapy water, rinse well, and sterilize by boiling in water bath for 10 minutes. Keep jars hot until filling. Prepare lids by simmering in hot water for 5 minutes.
- After straining, return cider to the pot and bring to a boil. Boil for 5 minutes before filling jars.
- Using a funnel, ladle hot cider into the sterilized jars, leaving 1/2-inch headspace.
- Wipe rims clean to ensure a good seal.
- Place lids on jars and screw bands fingertip tight, avoiding overtightening.
- Place jars in water bath canner with 1-2 inches water covering jars. Boil rolling water and process pints for 10 minutes, quarts for 15 minutes. Adjust time for altitudes above 1,000 feet by adding 1 minute per 1,000 feet.
- Remove jars with lifter and place on towel-lined surface to cool for 12-24 hours. Check lids by pressing in center; no flex means sealed properly. Refrigerate any unsealed jars and use within a week.
- Label and date jars. Store in a cool, dark place for up to one year.
how to serve Homemade Dutch Oven Apple Cider Recipe
Serve your Homemade Dutch Oven Apple Cider piping hot in your favorite mug—it’s all about that cozy vibe. Add a sprinkle of cinnamon on top for that extra flair! If you’re feeling festive, throw in some whipped cream or a splash of rum (just don’t blame me if you dance on the table 😏). It’s also great chilled over ice during those Indian summer days!
how to store Homemade Dutch Oven Apple Cider Recipe
If you manage to have any cider left after a cozy night in, you can store it in the fridge for about a week. Just make sure it’s sealed tight. If you’ve canned it, like a pro, it can sit in a cool, dark place for up to a year. Just remember to label your jars so two months down the line you’re not wondering if it’s cider or pickles!
tips to make Homemade Dutch Oven Apple Cider Recipe
- Use a mix of sweet and tart apples for the best flavor (hello, combo!).
- Don’t skimp on spices! Adjust them to your taste—more cinnamon, anyone?
- Always press the fruit well during straining. You want every drop of that delicious goodness! 💧
- Make it a family activity: kids love mashing fruit!
variation (if any)
Feeling adventurous? Try adding some ginger or a spoonful of maple syrup for a unique twist. You could also experiment with different citrus fruits, like lemons or even limes for a little zing!
FAQs
Can I use other fruits in my cider?
Absolutely! You can mix in pears, cranberries, or even pineapple. Just remember, the more the merrier!
How do I know when my cider is ready?
After simmering for four hours total and extracting all those flavors, that’s your cue. Trust your nose—it’ll tell you!
Is it safe to can homemade cider?
Yes, as long as you follow the instructions for sterilizing jars and the water bath method. Always remember safety first!
Now that you’ve got the scoop on making Homemade Dutch Oven Apple Cider, it’s time to get cooking! Who knew something so delicious could be so easy? 🍎

Homemade Dutch Oven Apple Cider
Ingredients
Method
- Wash the apples and orange thoroughly.
- Cut the apples into quarters, keeping the skin on. Slice the orange into rounds with the peel intact.
- In a large Dutch oven, add the apple quarters, orange slices, cloves, cinnamon sticks, and allspice.
- Pour in 2 quarts of water over the fruit and spices.
- Place the Dutch oven on medium heat and bring to a boil.
- Once boiling, reduce heat to low, cover, and simmer for 2 hours, stirring occasionally and pressing the fruit to release flavors.
- After 2 hours, use a potato masher to crush the apples and orange slices to extract more flavor.
- Continue simmering the cider for another 2 hours.
- Carefully strain the mixture through a fine mesh sieve or cheesecloth into another pot, pressing down on the solids to extract as much liquid as possible.
- Serve the cider warm or let it cool and refrigerate for later use.
- While cider simmers, wash jars with hot soapy water, rinse, and sterilize by boiling in water for 10 minutes. Keep jars hot until filling.
- After straining, return cider to the pot and bring to a boil. Boil for 5 minutes before filling jars.
- Using a funnel, ladle hot cider into the sterilized jars, leaving 1/2-inch headspace.
- Wipe rims clean to ensure a good seal.
- Place lids on jars and screw bands fingertip tight, avoiding overtightening.
- Place jars in water bath canner and process pints for 10 minutes, quarts for 15 minutes.
- Remove jars and place on a towel-lined surface to cool for 12-24 hours.
- Check lids by pressing in center; no flex means sealed properly. Refrigerate any unsealed jars and use within a week.