Canning Apple Cider
Why Make This Recipe
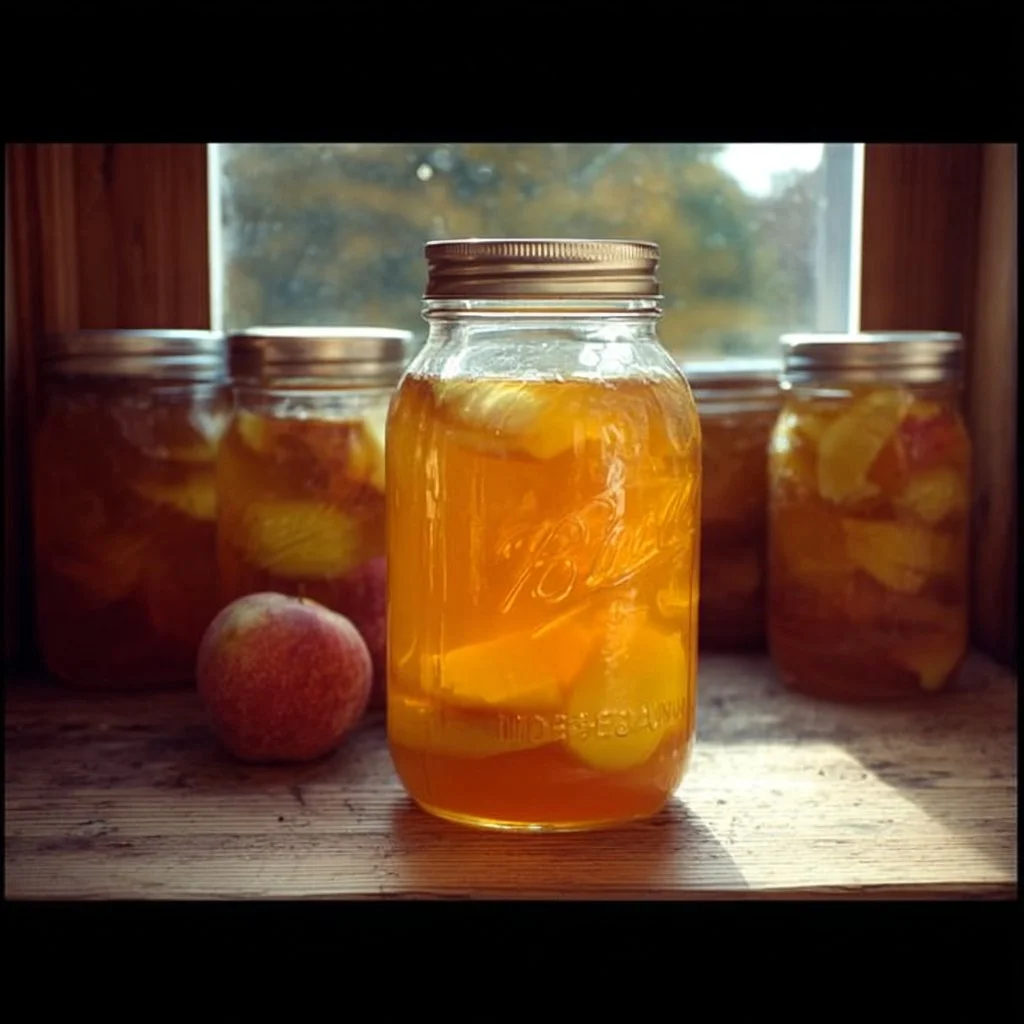
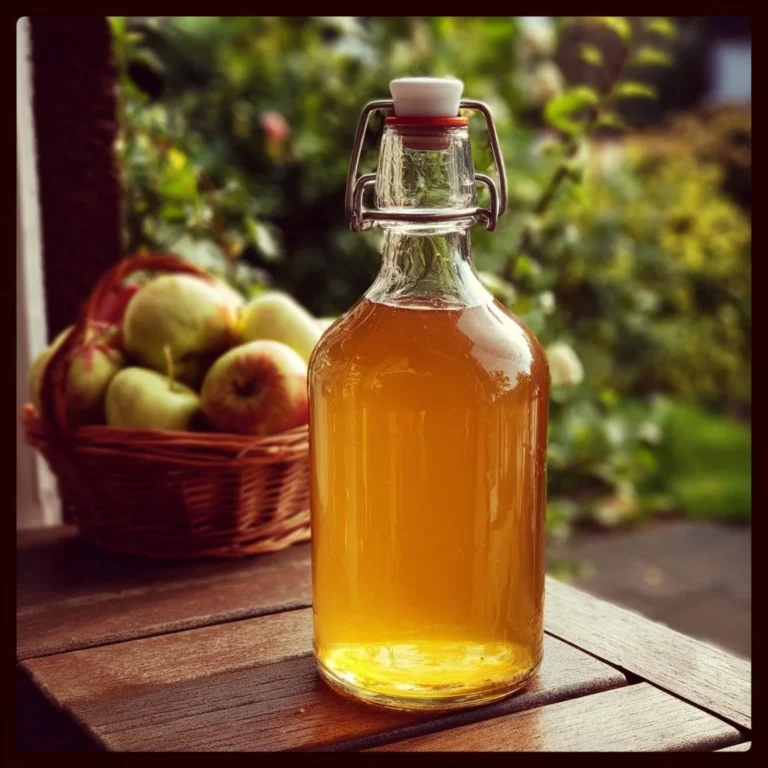
Canning apple cider might sound like a project for the ambitious, but it’s actually a fun way to capture autumn’s delicious essence in a jar. Can you think of anything better than sipping on homemade cider all year round? I can’t! Plus, it’s an easy way to preserve that fresh apple goodness without the dreaded waste.
This method not only extends the life of your cider but also lets you enjoy its crisp and refreshing flavor whenever you crave it. Trust me, this is one canning adventure you won’t regret!
How to Make Canning Apple Cider
Let’s dive into how this process works—it’s like a science experiment, but with something you can drink (bonus!). The steps are pretty straightforward, and before you know it, you’ll be the proud owner of shiny jars filled with homemade goodness.
Follow these steps carefully, and your cider will taste like fall in a bottle:
Ingredients:
- Fresh Pressed Apple Cider
- Bottled Lemon Juice
Directions:
- Press the apples using a cider press to extract the juice. This is where your muscles come into play—let’s hope you’ve been working out! 💪
- If you want that extra smooth experience, refrigerate the juice for 24 to 48 hours to allow sediment to settle. Boring? Maybe. Worth it? Absolutely!
- Ladle the clear juice into a large stainless steel saucepan, making sure to discard the sediment. This is like a spa day for your cider!
- Prepare your canner, jars, and lids. The canner should be preheated for hot packing, with the water simmering around 180 to 190°F (82 to 88°C). Got a thermometer? Use it!
- Heat the apple juice in the saucepan over medium-high heat to 190°F (88°C). Keep it just below boiling—and for goodness’ sake, don’t let it boil.
- Maintain that temperature for 5 minutes, then turn off the heat. Yay, you made it this far! 🙌
- Measure 1 Tbsp of bottled lemon juice (or ½ Tbsp for pints) into the bottom of each quart jar. This helps with preservation, so don’t skip it!
- Ladle the hot juice into hot jars, leaving a 1/4 inch headspace. Wipe those rims clean, center the lids, and screw down the bands to fingertip-tight.
- Process the jars in a boiling water canner for 10 minutes. Adjust for altitude if needed—don’t let those pesky mountains ruin your plans!
- After processing, let the jars sit for 5 minutes before removing. This prevents any “surprise” accidents with siphoning.
- Cool the jars completely on a towel or rack. Once everything’s cool, check those seals like a pro!
How to Serve Canning Apple Cider
You might be wondering, “How do I enjoy this amazing cider?” Well, the options are endless! Serve it chilled or warm it up with some mulling spices for a comforting drink on a chilly day. Add a splash of rum if you’re feeling a little wild. 🍏🍹
How to Store Canning Apple Cider
Once cooled and sealed, store your jars in a cool, dark place. They should last for about a year if stored properly. That said, you’ll probably want to sip on it way before that, right? Just keep them out of direct sunlight, and you’ll be golden.
Tips to Make Canning Apple Cider
- Use fresh, high-quality apples for the best flavor.
- Experiment with different apple varieties for a unique mix—mix sweet and tart for a balanced taste!
- Always double-check for any signs of spoilage before consuming. Better safe than sorry!
Variation
Feeling adventurous? Try adding spices like cinnamon or cloves during the heating step for a spiced cider experience. You could even mix in some pear juice for a slightly different flavor profile. 🎃
FAQs
Can I use store-bought cider instead of fresh-pressed?
You can, but you might miss out on that fresh taste! If you’re desperate, just go for it.
How do I know if the jars are sealed properly?
Press down on the center of the lid after it cools; if it pops back, it’s not sealed. If it stays down, you’re golden!
Can I reuse canning jars and lids?
You can reuse jars, but you need new lids. Those lids are like one-night stands; they’re great but can’t handle long-term commitments. 😉
Now, what are you waiting for? Grab those apples, and let’s get canning! 🍏✨

Canning Apple Cider
Ingredients
Method
- Press the apples using a cider press to extract the juice.
- Refrigerate the juice for 24 to 48 hours to allow sediment to settle.
- Ladle the clear juice into a large stainless steel saucepan, discarding the sediment.
- Prepare your canner, jars, and lids. Preheat the canner for hot packing at 180 to 190°F (82 to 88°C).
- Heat the apple juice in the saucepan over medium-high heat to 190°F (88°C) without boiling.
- Maintain that temperature for 5 minutes, then turn off the heat.
- Measure 1 Tbsp of bottled lemon juice into each quart jar.
- Ladle the hot juice into hot jars, leaving a 1/4 inch headspace. Wipe the rims clean, center the lids, and screw down the bands to fingertip-tight.
- Process the jars in a boiling water canner for 10 minutes, adjusting for altitude.
- After processing, let the jars sit for 5 minutes before removing them to prevent siphoning.
- Cool the jars completely on a towel or rack.
