7 Bento Cake Ideas: Trendy Treats You Can Make Easily
Sweeten Your Day with Trendy Bento Cakes!
Ever bitten into a cake that literally makes your taste buds dance? Meet bento cakes – the mini, charming dessert trend that’s taken social media by storm. These dainty little delights not only look adorable but are also surprisingly easy to whip up, making them perfect for any occasion. Trust me, once you try one, you’ll be dreaming in sprinkles!
Why Make Bento Cakes?
Why fuss over full-sized cakes when you can create these cute, portable treats? Here are a few reasons why you’ll love making bento cakes:
- Easy Cleanup: Who needs a mountain of dishes? With fewer layers and pans, these cakes are stress-free to clean.
- Customizable: Add your flair! Personalize with flavors, colors, and decorations to keep things exciting for every celebration.
- Perfectly Portion-Controlled: Say goodbye to cake-induced regrets! These little wonders allow you (and your guests) to enjoy a sweet bite without overindulging.
Ingredients
You don’t need fancy stuff — just these basics!
- 1 cup all-purpose flour (or almond flour for gluten-free)
- 1/2 cup granulated sugar (or coconut sugar)
- 1/4 cup unsalted butter, softened (or plant-based butter)
- 1 large egg (or 1/4 cup applesauce)
- 1/3 cup milk (almond or oat milk)
- 1 tsp vanilla extract
- 1 tsp baking powder
- 1/4 tsp salt
Directions
Here’s how to bring your bento cake to life, step by step:
Prepare the Batter
Preheat oven to 350°F (175°C) and line a 4-inch round cake pan. Cream butter and sugar until light and fluffy (about 3 minutes). Add egg and vanilla, and mix well.Mix and Bake
In a separate bowl, whisk flour, baking powder, and salt. Gradually add the dry mix to the wet mix, alternating with milk. Pour into the prepared pan, smooth the top, and bake for 22–25 minutes. A toothpick should come out with a few moist crumbs (not wet batter!).Cool and Level
Let the cake cool in the pan for 10 minutes, then move to a rack. Once fully cooled, level the cake top and slice horizontally into 2–3 layers.Make Frosting and Fill
Beat butter until creamy. Add powdered sugar, cream, and vanilla. Beat for 5 minutes. Set aside 1/3 of the frosting for the outer layer; color the rest as desired. Spread frosting between layers and apply a crumb coat. Chill for 15 minutes.Decorate
Apply the final frosting layer. Get creative with piping bags and edible markers. Personalize with colors, names, or designs. Top with sprinkles or berries if desired.
How to Make 7 Bento Cake Ideas: Trendy Treats You Can Make Easily (Overview)
Making your bento cakes is a breeze! Just follow these simple steps:
- Prep your ingredients: Gather all your essentials and make sure your baking space is clear.
- Bake the cake: Follow the above steps to create a base that’s moist and delicious.
- Customize the layers: Use different colors and flavors — maybe a chocolate frosting for one layer and strawberry for another? The sky’s the limit!
- Decorate: This is where the fun begins. Use your piping skills or even let the kiddos join in for a family activity.
Pro tip: Don’t skip chilling the cake after applying the crumb coat. It makes frosting much easier!
How to Serve 7 Bento Cake Ideas: Trendy Treats You Can Make Easily
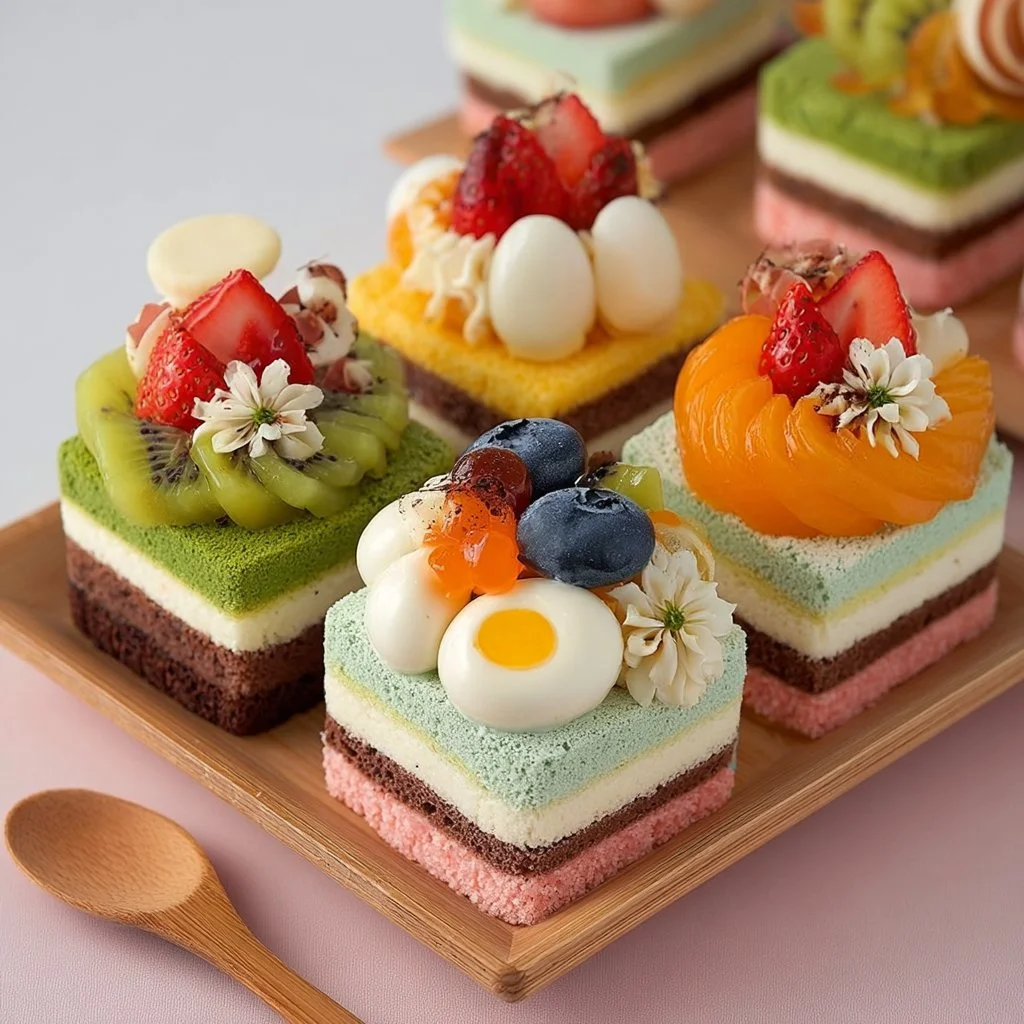
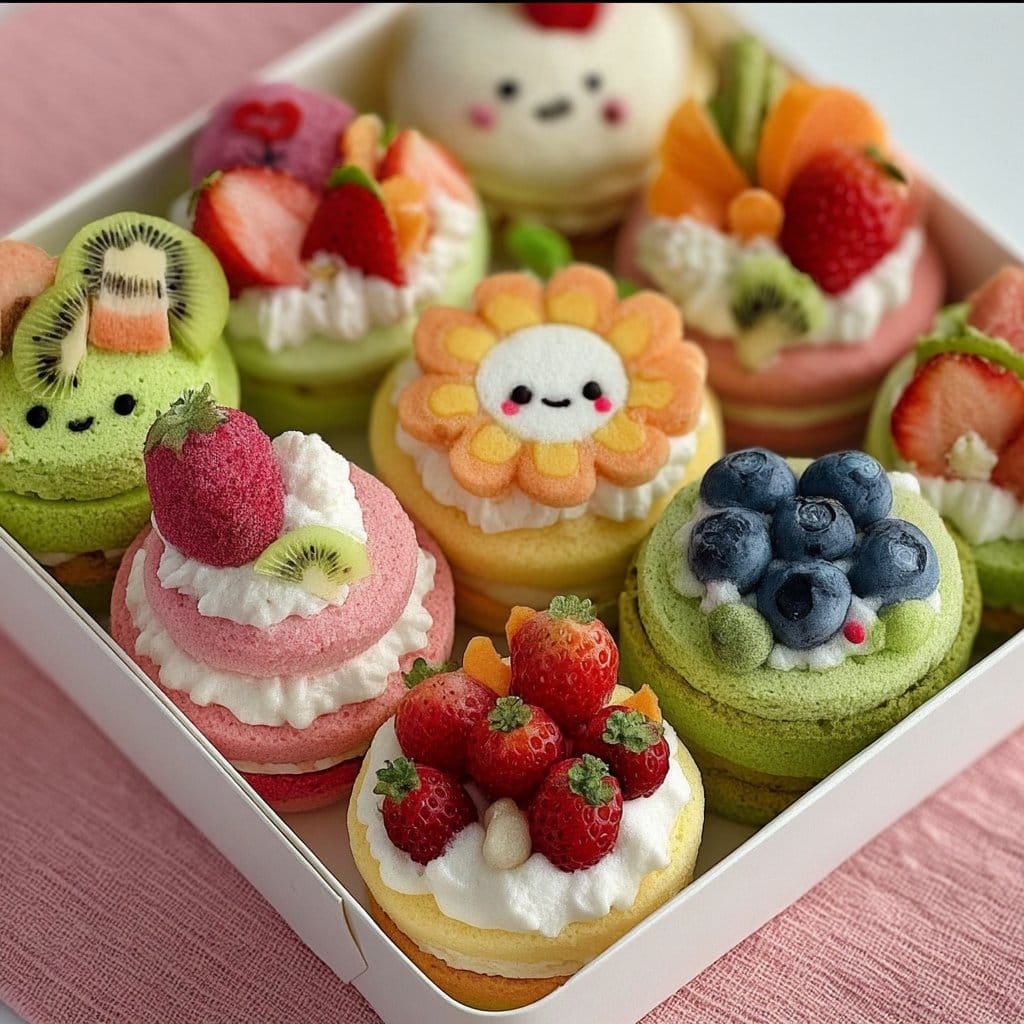
Serving these bento cakes is half the fun! Place them on colorful plates, creating a delightful dessert display. Add fresh fruits or edible flowers to heighten visual appeal. Imagine the burst of color and aroma beckoning from your dessert table! Guests won’t resist taking a second helping (or third!).
How to Store 7 Bento Cake Ideas: Trendy Treats You Can Make Easily
These little beauties stay fresh in the fridge for about 4-5 days. Just pop them in an airtight container to maintain that moist texture. You can also freeze them! Just ensure they’re well-wrapped to avoid freezer burn — they’ll last about 1-2 months. For best results, let them fully thaw in the fridge before enjoying.
Tips to Make 7 Bento Cake Ideas: Trendy Treats You Can Make Easily
Here are some insider secrets for perfect bento cakes every time:
- Room Temperature Ingredients: Make sure your butter, eggs, and milk are at room temperature for a smooth batter.
- Sift Your Dry Ingredients: This adds air and helps your cake stay fluffy.
- Experiment with Flavors: Want to add a twist? Try almond extract or a splash of lemon juice!
- Chill Your Frosting: If it seems too runny, put it in the fridge for a bit to firm up before decorating.
- Layer It Up: Feel free to get adventurous with nature-inspired designs using fruits!
Variation
Want to switch things up? Try making them vegan by swapping the egg for applesauce and using plant-based butter and milk. Want a flavor boost? Toss in zest from your favorite citrus fruits or even some chocolate chips for added yumminess!
FAQs
1. Can I make these cakes ahead of time?
Absolutely! You can bake the cake a day or two in advance and store it until you’re ready to assemble.
2. How do I adjust for different sizes?
Simply scale the ingredients based on your pan size. Use a baking calculator for precise measurements.
3. Can I freeze them after decorating?
It’s best to freeze before decorating. Decorated cakes may not hold up in the freezer.
📌 Pin this recipe for your next cozy dinner night!

Bento Cakes
Ingredients
Method
- Preheat oven to 350°F (175°C) and line a 4-inch round cake pan.
- Cream butter and sugar until light and fluffy (about 3 minutes).
- Add egg and vanilla, and mix well.
- In a separate bowl, whisk flour, baking powder, and salt.
- Gradually add the dry mix to the wet mix, alternating with milk.
- Pour into the prepared pan, smooth the top, and bake for 22–25 minutes.
- A toothpick should come out with a few moist crumbs (not wet batter!).
- Let the cake cool in the pan for 10 minutes, then move to a rack.
- Once fully cooled, level the cake top and slice horizontally into 2–3 layers.
- Beat butter until creamy.
- Add powdered sugar, cream, and vanilla. Beat for 5 minutes.
- Set aside 1/3 of the frosting for the outer layer; color the rest as desired.
- Spread frosting between layers and apply a crumb coat. Chill for 15 minutes.
- Apply the final frosting layer.
- Get creative with piping bags and edible markers.
- Personalize with colors, names, or designs and top with sprinkles or berries if desired.